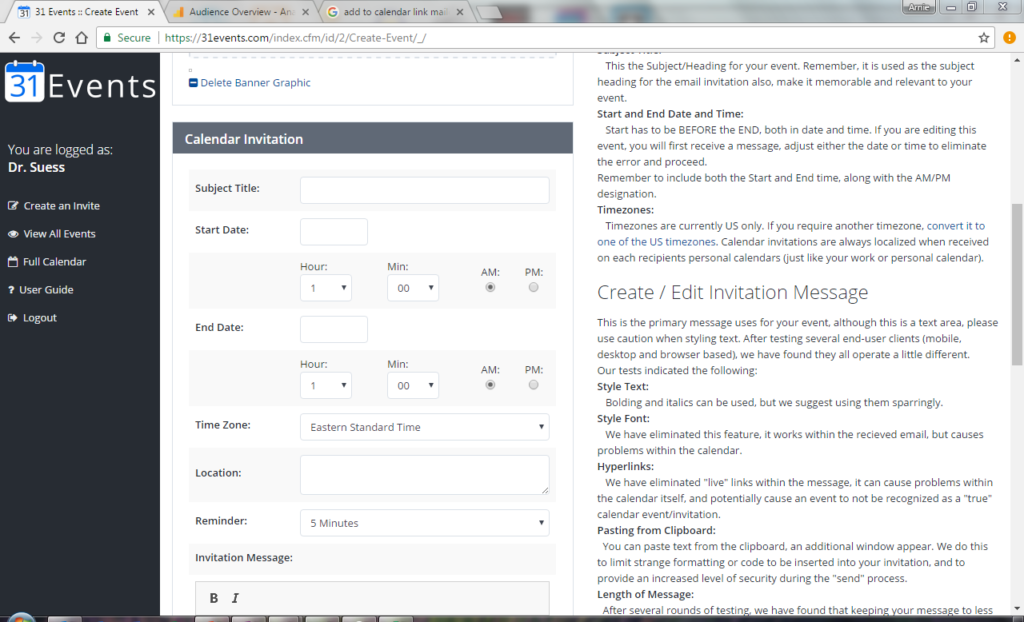
Add A Calendar Invite To Mailchimp
Add A Calendar Invite To Mailchimp - Create an event step 2: Click view all outlook settings. Export the event as an.ics file step 3: Click the “connect” button at the top of the page. Web locate event link in outlook. Upload the calendar invite to mailchimp step 4:. Create an event in your calendar step 2: Click on the settings gear icon. Generate the calendar invite step 3:
Web locate event link in outlook. Export the event as an.ics file step 3: Click the “connect” button at the top of the page. Upload the calendar invite to mailchimp step 4:. Generate the calendar invite step 3: Click on the settings gear icon. Create an event step 2: Create an event in your calendar step 2: Click view all outlook settings.
Click view all outlook settings. Generate the calendar invite step 3: Upload the calendar invite to mailchimp step 4:. Export the event as an.ics file step 3: Web locate event link in outlook. Create an event step 2: Click the “connect” button at the top of the page. Click on the settings gear icon. Create an event in your calendar step 2:
MailChimp RSVP Button for sending calendar invites in 30 seconds by
Click on the settings gear icon. Upload the calendar invite to mailchimp step 4:. Click view all outlook settings. Create an event step 2: Export the event as an.ics file step 3:
How to add your Google Calendar events into a Mailchimp campaign
Create an event step 2: Web locate event link in outlook. Generate the calendar invite step 3: Click on the settings gear icon. Click view all outlook settings.
How to add your Google Calendar events into a MailChimp campaign
Click view all outlook settings. Generate the calendar invite step 3: Export the event as an.ics file step 3: Click the “connect” button at the top of the page. Upload the calendar invite to mailchimp step 4:.
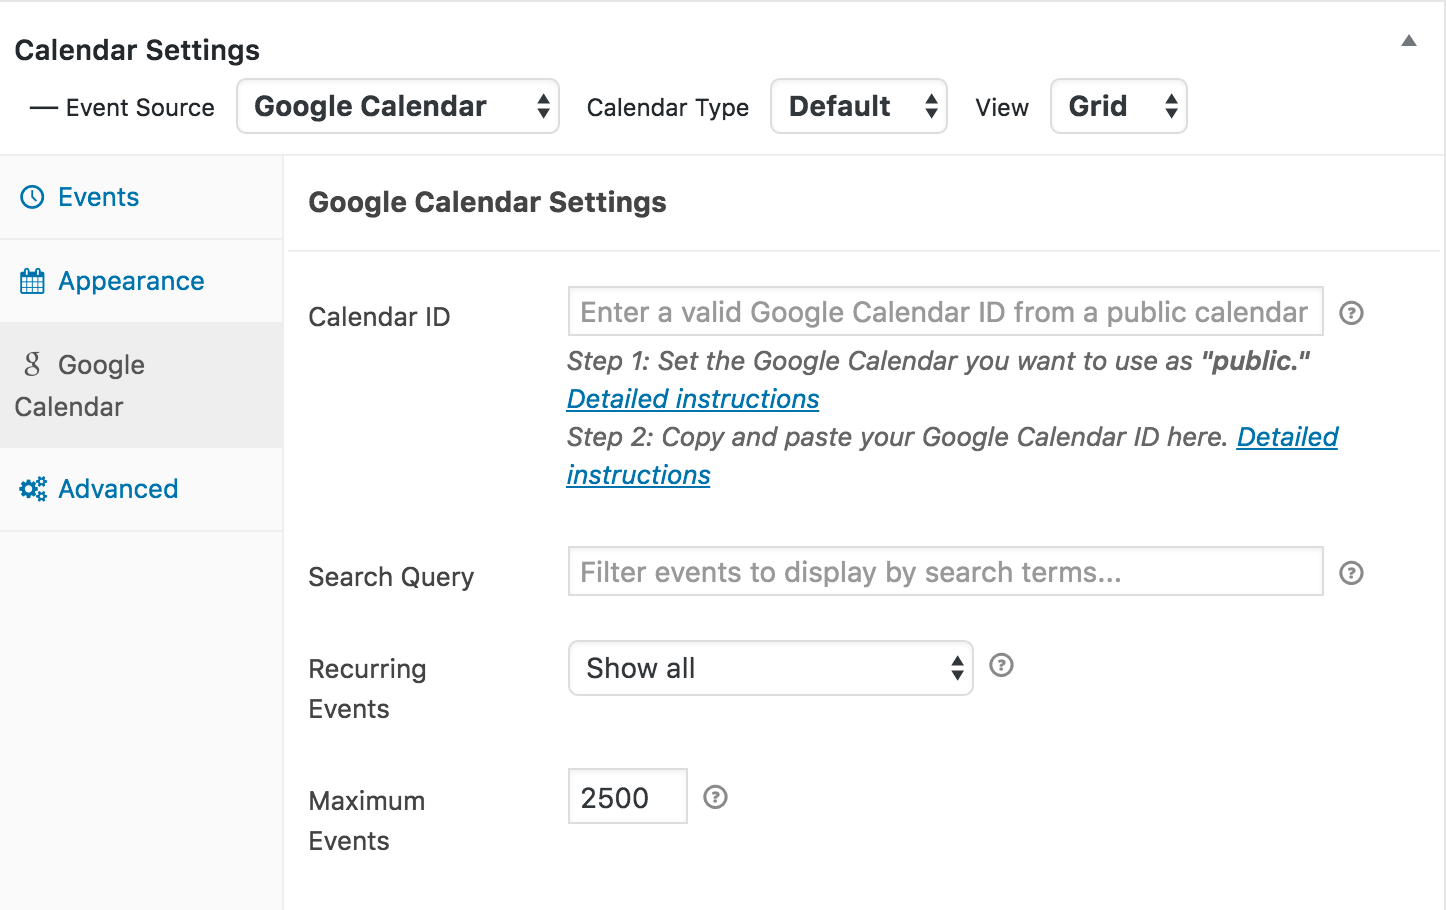
How to add your Google Calendar events in a Mailchimp campaign
Click the “connect” button at the top of the page. Export the event as an.ics file step 3: Click view all outlook settings. Upload the calendar invite to mailchimp step 4:. Generate the calendar invite step 3:

How to add "Add to Calendar" links to MailChimp emails YouTube
Create an event in your calendar step 2: Click the “connect” button at the top of the page. Upload the calendar invite to mailchimp step 4:. Create an event step 2: Click view all outlook settings.
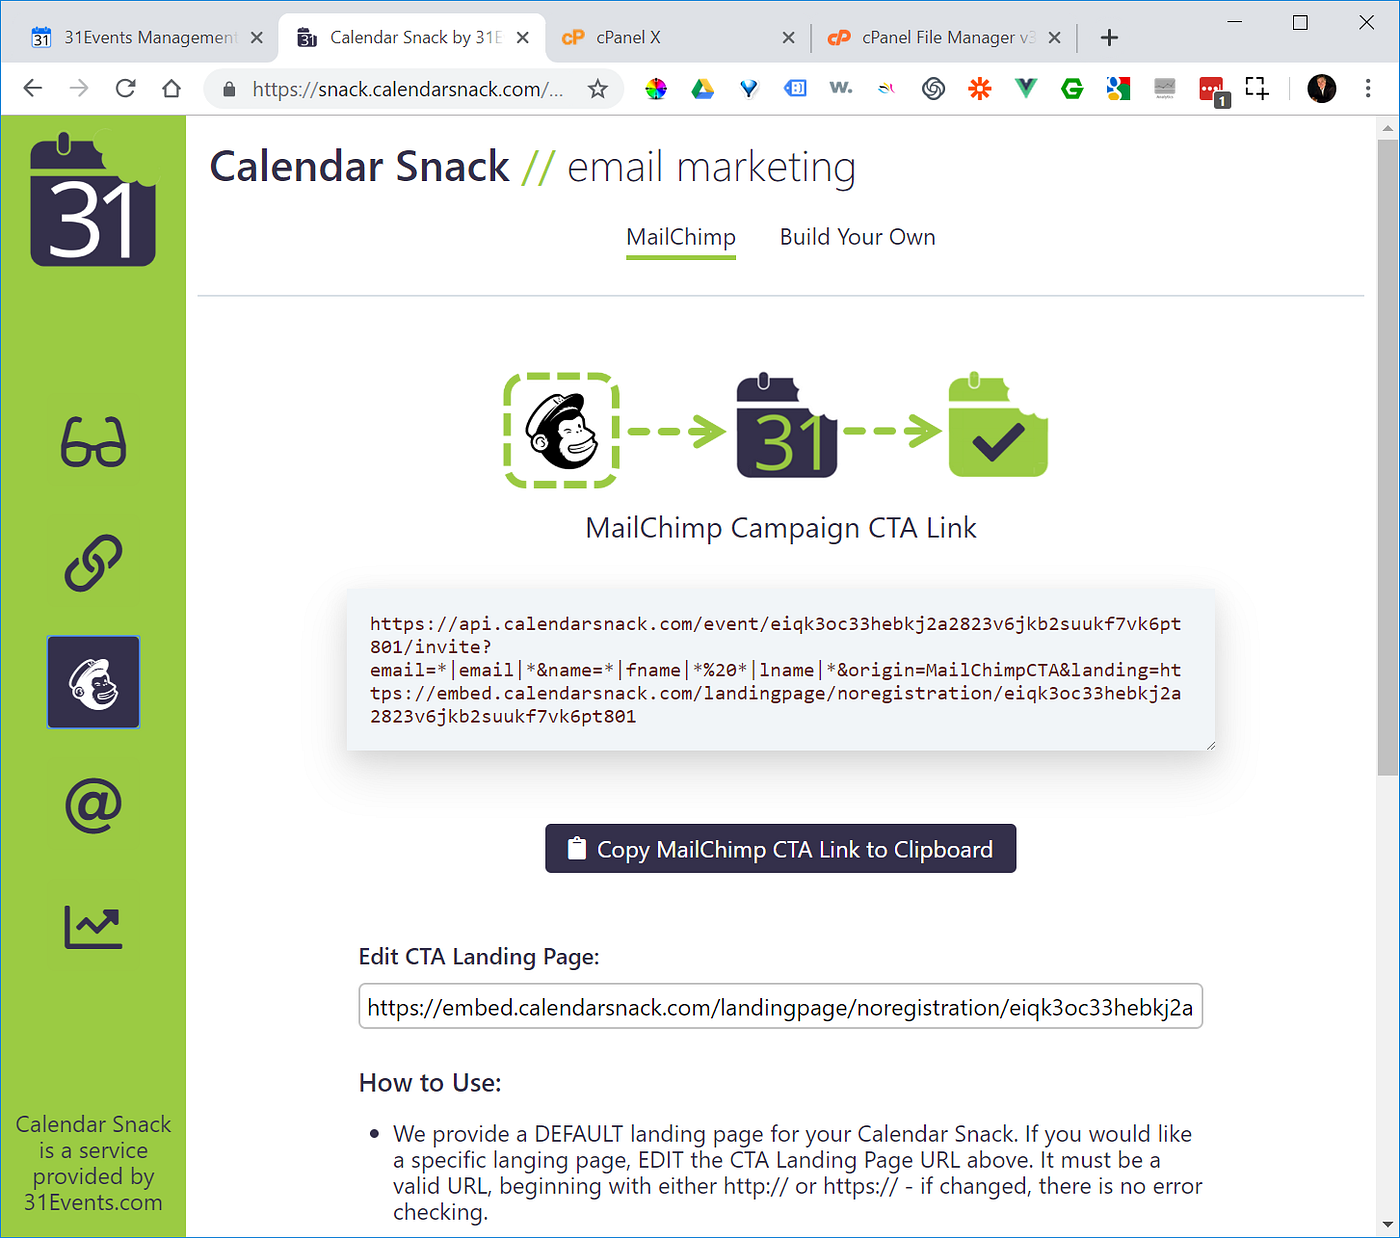
Adding an automated calendar invitation to a MailChimp email marketing
Web locate event link in outlook. Click view all outlook settings. Click on the settings gear icon. Generate the calendar invite step 3: Create an event step 2:
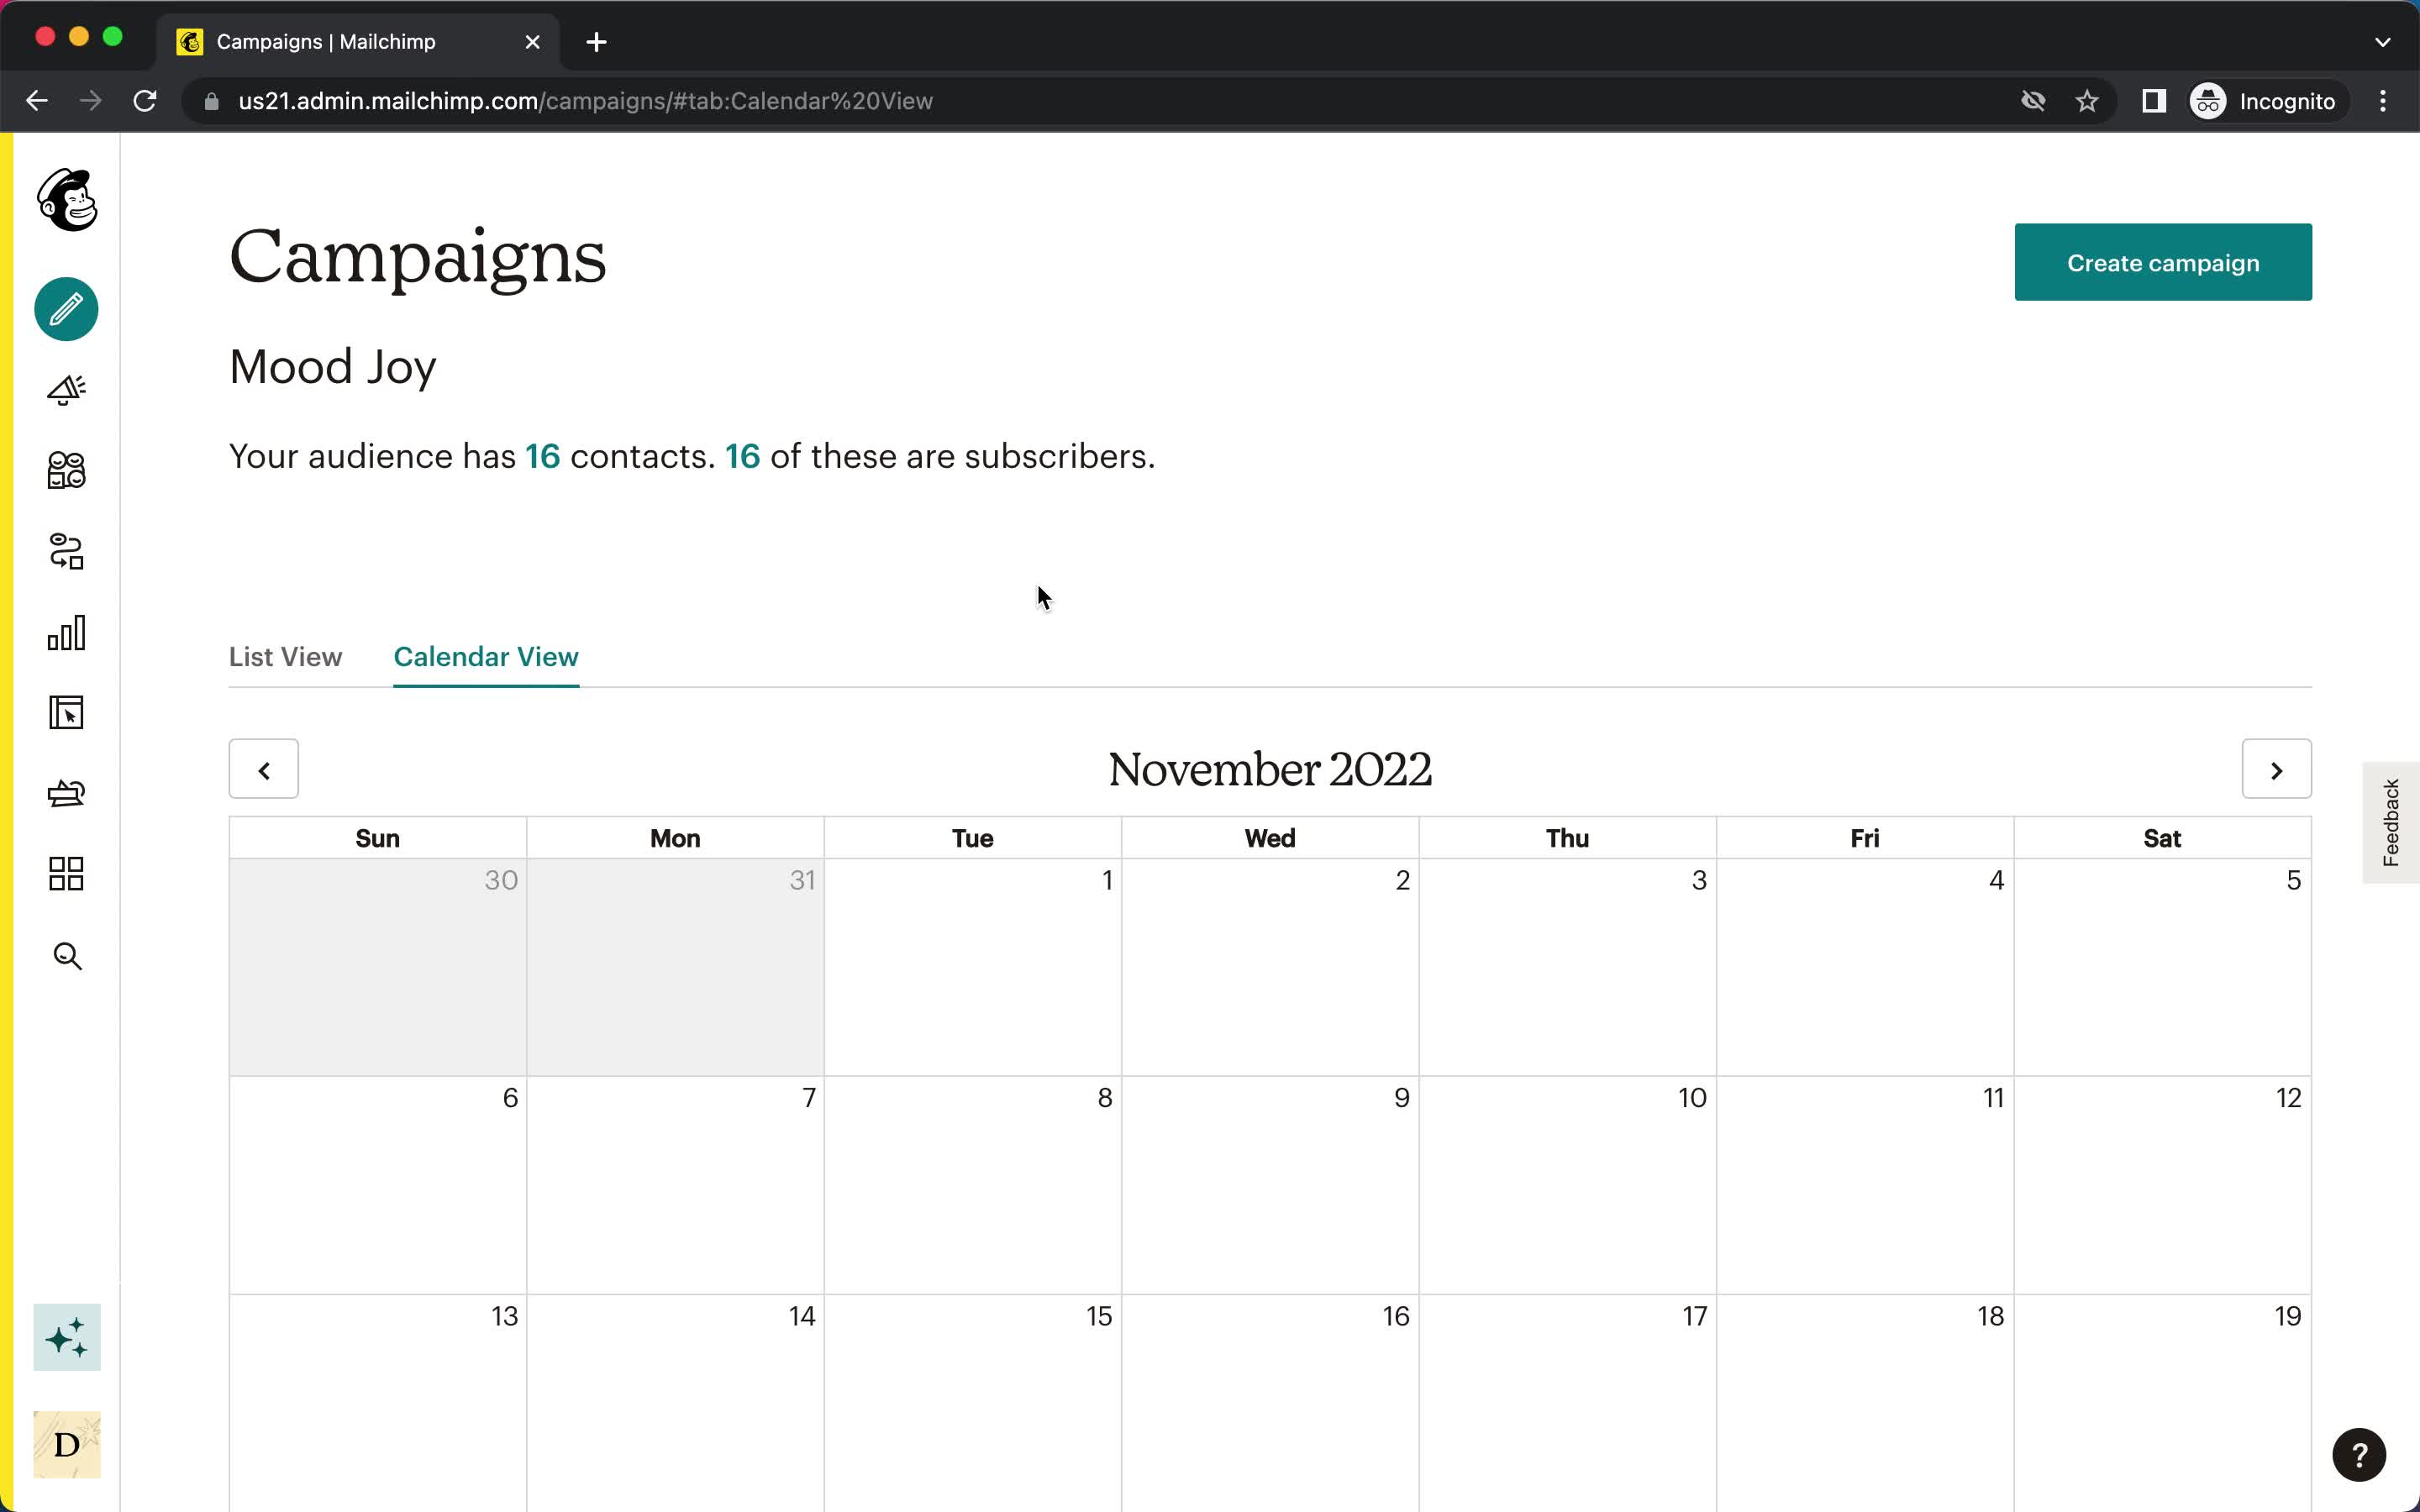
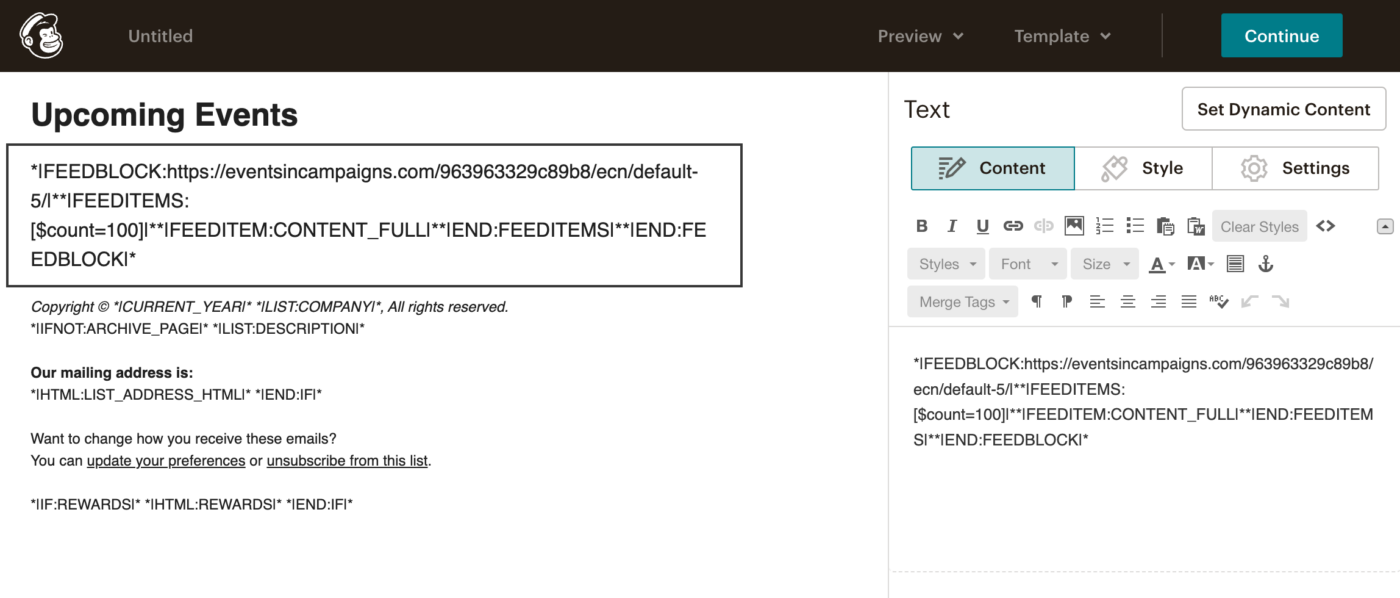
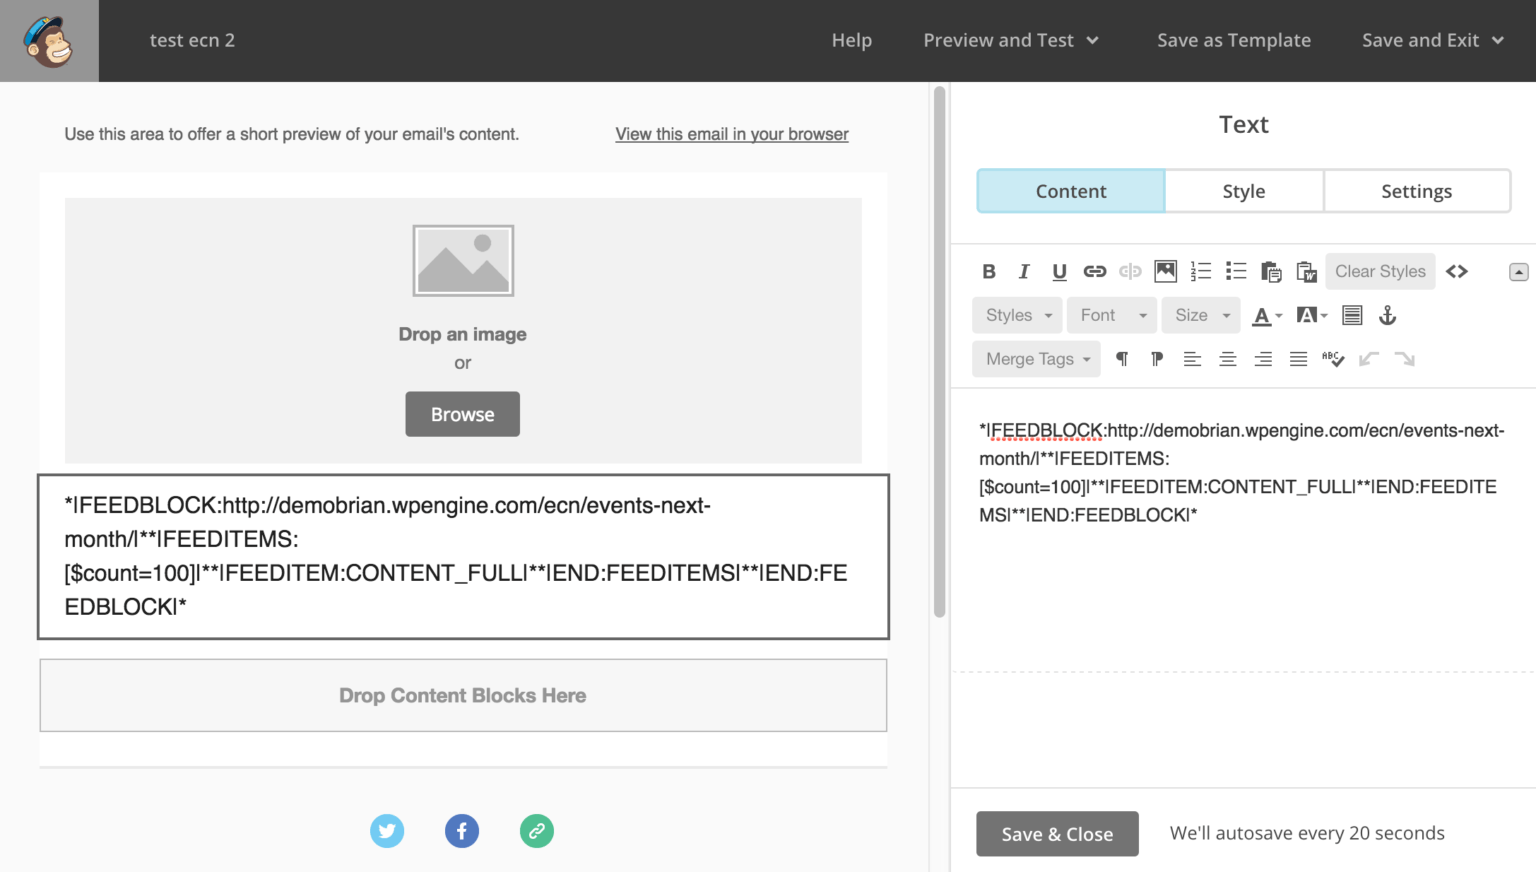
Mailchimp calendar screenshot
Click the “connect” button at the top of the page. Create an event in your calendar step 2: Export the event as an.ics file step 3: Web locate event link in outlook. Click view all outlook settings.

How to use the AddEvent app with Mailchimp
Create an event in your calendar step 2: Create an event step 2: Web locate event link in outlook. Upload the calendar invite to mailchimp step 4:. Click on the settings gear icon.
Adding an automated calendar invitation to MailChimp
Create an event in your calendar step 2: Create an event step 2: Export the event as an.ics file step 3: Click view all outlook settings. Generate the calendar invite step 3:

How to include Add to calendar links in your MailChimp emails YouTube
Click on the settings gear icon. Create an event step 2: Click the “connect” button at the top of the page. Create an event in your calendar step 2: Upload the calendar invite to mailchimp step 4:.
Click The “Connect” Button At The Top Of The Page.
Create an event step 2: Export the event as an.ics file step 3: Web locate event link in outlook. Generate the calendar invite step 3:
Click On The Settings Gear Icon.
Create an event in your calendar step 2: Upload the calendar invite to mailchimp step 4:. Click view all outlook settings.